Imagine transforming your child’s colorful masterpiece into a stunning piece of wall art. With just a few simple steps, you can easily elevate those beloved coloring pages into beautiful decorations for your home. Say goodbye to the days of tucking them away in a drawer – it’s time to showcase their creativity and create a personalized gallery that will bring joy to both you and your little ones. In this article, you will discover the secrets to turning coloring pages into wall art, unlocking a world of endless possibilities for your home decor. Get ready to add a touch of whimsy and imagination to your walls!

Choosing the Right Coloring Pages
When it comes to turning coloring pages into wall art, the first step is to choose the right coloring pages. This involves determining the theme, considering the complexity, and thinking about sizing and scaling.
Determining the Theme
The theme of your coloring pages can greatly impact the overall look and feel of your wall art. Think about the style and vibe you want to achieve in your space. Whether you prefer nature scenes, animals, mandalas, or inspirational quotes, selecting coloring pages that align with your personal preferences and the overall theme of your room is vital.
Considering the Complexity


The complexity of the coloring pages you choose can impact the level of detail and intricacy in your wall art. If you enjoy intricate designs and have the patience to fill in tiny spaces, opt for more complex coloring pages. On the other hand, if you prefer simpler designs or have limited time to dedicate to coloring, choose pages with larger shapes and fewer small details.
Sizing and Scaling
Before you start coloring, consider the size and scale of your chosen coloring pages. Take into account the available wall space where you plan to display your finished artwork. If you have a large, empty wall, you might opt for larger coloring pages or even combine multiple pages to create a larger composition. However, if you have limited space or want to create a gallery wall with multiple smaller pieces, choose coloring pages that are more compact in size.
Materials and Tools
Once you have chosen the perfect coloring pages for your wall art, it’s time to gather the necessary materials and tools to bring your vision to life. You’ll need coloring medium, quality printing paper, printing equipment, and mounting supplies.
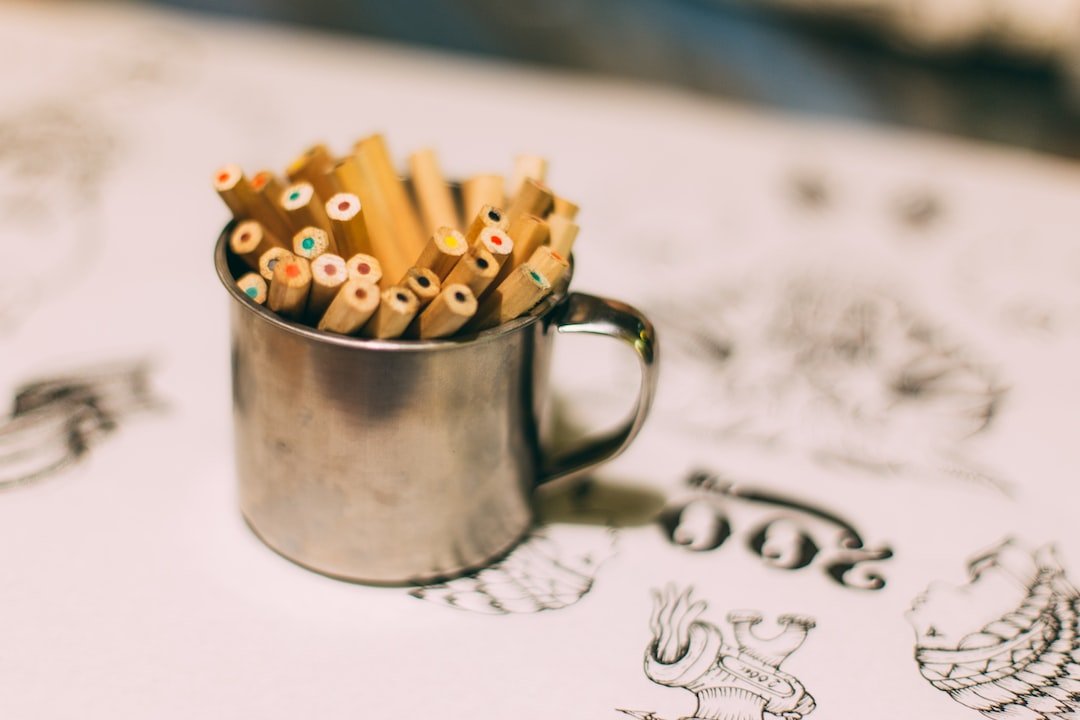
Coloring Medium
The coloring medium you choose can greatly affect the final look of your wall art. Consider using markers, colored pencils, or watercolor paints, depending on your preferred style and the effect you want to achieve. Experiment with different mediums to see which one suits your coloring pages and personal taste best.
Quality Printing Paper
Using high-quality printing paper is essential for achieving vibrant and long-lasting wall art. Look for acid-free, archival-quality paper that is compatible with your chosen coloring medium. This will ensure that your colors stay true and won’t fade over time.
Printing Equipment


If you prefer to print your coloring pages instead of using physical books, make sure you have a reliable printer that produces high-quality prints. Experiment with different settings to get the best results, such as adjusting the print quality, color saturation, and paper type settings.
Mounting Supplies
To display your coloring pages as wall art, you will need mounting supplies. Consider using adhesive mounts, double-sided tape, or mounting putty to adhere your finished coloring pages to the wall. Alternatively, you may choose to frame them or use other creative mounting methods, which we will explore later in this article.


Preparing the Coloring Pages
Before you start displaying your coloring pages as wall art, there are a few steps to take in preparing them. This includes selecting and printing the pages, trimming and resizing if necessary, adjusting the colors, and sealing the pages for protection.
Selecting and Printing
If you haven’t already printed your coloring pages, select the ones you want to use and print them on the high-quality paper discussed earlier. Pay attention to the size and scale to ensure they fit your intended display area perfectly.
Trimming and Resizing


Once your coloring pages are printed, you may need to trim or resize them to fit your desired frame or display method. Use a ruler and a sharp craft knife or scissors to carefully trim the excess paper, making sure to maintain the integrity of the design.
Adjusting the Colors
If you desire a specific color scheme or want to enhance certain elements of your coloring pages, consider adjusting the colors. You can do this by using colored pencils or markers to add shading or highlights to specific areas. Experiment with different techniques to bring out the beauty of your chosen coloring pages.
Sealing the Pages
To protect your finished coloring pages and enhance their longevity, consider sealing them. You can use a clear fixative spray designed for artwork to seal the pages and prevent colors from smudging or fading. Make sure to follow the instructions on the spray can and apply it in a well-ventilated area.
Choosing the Framing Approach
When it comes to displaying coloring pages as wall art, there are various framing approaches you can consider. Each approach offers a unique aesthetic and allows you to showcase your artwork in different ways. Here are a few options to explore:
Traditional Framing
Traditional framing involves placing your coloring pages within a frame with a matting board for a polished and classic look. Choose a frame that complements the style of your coloring pages and the overall decor of the room. This approach works well for both individual pages and collections of coloring pages.
Collage of Frames


For a more eclectic and artistic display, consider creating a collage of frames. This approach allows you to mix and match different frame styles, sizes, and colors, creating a visually interesting composition on the wall. Arrange your coloring pages in a way that is pleasing to the eye and reflects your personal style.
Floating Frame
A floating frame is a modern and minimalist way to display your coloring pages. This type of frame features a transparent or barely visible border, allowing your artwork to take center stage. Floating frames provide a clean and sleek look, highlighting the vibrant colors and intricate details of your coloring pages.
Canvas Frame
If you prefer a more contemporary and gallery-like display, consider stretching your coloring pages onto canvas frames. This approach gives your artwork a three-dimensional effect and creates a polished and professional look. Choose a frame size that fits your coloring pages and stretch the paper tightly over the canvas frame, securing it at the back.


Alternative Display Options
In addition to traditional framing, there are several alternative ways to beautifully display your coloring pages as wall art. Here are a few creative options to consider:
Using Clipboards


Clipboards offer a simple and inexpensive way to display your coloring pages. Hang a row of clipboards on the wall and switch out your coloring pages whenever you feel like a change. This approach allows you to easily display multiple pages and gives your wall art a casual and dynamic feel.
Creating a Gallery Wall
Embrace the trend of gallery walls by combining your colored pages with other artwork or photographs. Mix and match different sizes, frames, and styles to create a visually stunning display. This approach allows you to showcase your coloring pages alongside other cherished pieces, adding depth and personality to your wall.
Hanging with Binder Clips
For a creative and industrial look, consider hanging your coloring pages with binder clips. Simply attach the top edge of your coloring pages to a wire or string using binder clips and hang them on the wall. This approach works well for larger coloring pages or if you want to create a unique and eye-catching display.
Making a Tapestry
If you’re feeling adventurous and crafty, why not turn your coloring pages into a tapestry? Cut your pages into smaller sections and carefully sew or glue them together to create a larger piece. Hang your colorful tapestry on the wall using a rod, and marvel at the stunning and unique wall art you’ve created.
Enhancing the Coloring Pages
While colored pages can be beautiful on their own, there are several ways to enhance them further and add an extra touch of creativity. Consider these ideas to take your coloring pages to the next level:
Adding Backgrounds or Borders
If you want to create a more complete look for your coloring pages, consider adding backgrounds or borders. Use colored pencils, markers, or paints to fill in the background with a solid color or create a gradient effect. Alternatively, add a decorative border around the edges of your coloring pages to frame them and make them stand out.
Combining Multiple Pages
To create a larger and more intricate composition, try combining multiple coloring pages into one cohesive artwork. Arrange the pages in a way that complements their designs and colors, and secure them together using adhesive or collage techniques. This approach allows you to showcase your coloring skills on a grander scale.
Incorporating Outlines or Shadows
For a more dramatic and three-dimensional effect, consider incorporating outlines or shadows in your coloring pages. Use a fine-point marker or colored pencil to outline certain elements, creating depth and definition. You can also add shadows by shading specific areas, giving your artwork a realistic and dynamic appearance.
Embellishing with Mixed Media
Take your coloring pages to a whole new level by incorporating mixed media techniques. Experiment with adding elements such as glitter, stickers, fabric, or even small objects onto your coloring pages. This will bring a unique and tactile quality to your artwork, making it truly one-of-a-kind.


Creating a Gradient Wall Art
If you’re looking for a more cohesive and visually striking display, creating a gradient wall art is a great option. This involves selecting a color scheme, coloring your pages using a gradation technique, arranging and mounting them, and creating a cohesive display.
Selecting a Color Scheme
Start by selecting a color scheme that suits your taste and the overall theme of your room. Choose colors that blend well together or opt for a monochromatic look. Consider using a color wheel as a guide to help you create a harmonious gradient.
Coloring with Gradation Technique
To achieve a gradient effect, color your pages using a gradation technique. This involves smoothly transitioning from one color to another, gradually lightening or darkening the hues. Experiment with different coloring techniques, such as blending or layering colors, to create a seamless and visually pleasing gradient on each page.
Arranging and Mounting
Once your coloring pages are colored and dried, arrange them in a way that creates a smooth transition from one color to the next. Start with the lightest-colored page at one end and gradually progress to the darkest-colored page at the other end. Secure them to the wall or mounting surface using your preferred method, such as frames, adhesive mounts, or clips.
Creating a Cohesive Display
To create a cohesive display, make sure the colors flow smoothly from one page to the next. Take a step back and assess the overall look, adjusting the positioning of the pages if necessary. The end result will be a stunning gradient wall art that adds a pop of color and visual interest to your space.
Customizing and Personalizing
To make your coloring pages truly unique and reflective of your personality, consider customizing and personalizing them. There are several ways to do this, such as adding text or quotes, including personal photos, integrating handwritten elements, or using stencils or stamps.
Adding Text or Quotes
If you want to infuse your coloring pages with additional meaning or inspiration, consider adding text or quotes. Use colored pencils or markers to write uplifting messages directly on the pages. Alternatively, print out your favorite quotes on printable adhesive paper and affix them to your coloring pages.
Including Personal Photos
For a more personal touch, incorporate personal photos into your coloring pages. Print out small photos and adhere them to specific areas on the pages using photo-safe adhesive or decorative washi tape. This creates a unique and personalized artwork that showcases special memories.
Integrating Handwritten Elements
Infuse your coloring pages with your own handwriting by incorporating handwritten elements. Write meaningful words, names, or dates on your pages using a fine-point pen or marker. This adds a personal and intimate touch to your wall art that is uniquely yours.
Using Stencils or Stamps
If you enjoy working with stencils or stamps, consider using them to customize your coloring pages. Use stencils to create intricate designs or patterns, or use stamps to add decorative elements or texture. Experiment with different techniques to achieve the desired effect and make your coloring pages truly one-of-a-kind.
Preserving and Protecting
To ensure that your coloring pages remain vibrant and beautiful for years to come, it’s important to take steps to preserve and protect them. Consider these methods to safeguard your wall art:
Applying Protective Finish
Once your coloring pages are complete, apply a protective finish to seal and protect the colors. Use a clear gloss or matte varnish designed for artwork to create a barrier that guards against fading and damage. Follow the instructions on the varnish and apply it evenly using a soft brush or spray.
Using UV-Resistant Materials
To minimize the effects of UV rays on your coloring pages, choose UV-resistant materials throughout the display and framing process. Opt for frames that have UV-protective glass or acrylic to reduce fading caused by sunlight exposure. Additionally, use acid-free and UV-resistant adhesives or mounting products to prevent damage over time.
Framing with Protective Glass
If you choose traditional framing for your coloring pages, consider framing them with protective glass. This not only adds a polished and professional look, but it also offers an extra layer of protection against dust, moisture, and UV rays. Take your colored pages to a professional framer to ensure they are properly framed using acid-free materials and UV-protective glass.
Inspiration and Ideas
If you’re feeling overwhelmed or unsure about where to start, there are plenty of sources of inspiration and ideas for coloring pages that can be turned into wall art. Consider these options to kickstart your creative journey:
Coloring Book Pages
Traditional coloring books are filled with an abundance of coloring pages that can be transformed into beautiful wall art. Browse through coloring books that align with your interests and artistic style, whether it’s floral designs, animals, or intricate patterns. The pages are designed with coloring in mind and often have bold outlines that lend themselves well to being displayed as wall art.
Online Printable Designs
The internet offers a treasure trove of free printable coloring pages. Search for websites that offer high-quality coloring pages that can be downloaded and printed at home. This gives you the freedom to choose from a vast array of designs and themes, enabling you to find the perfect coloring pages for your wall art project.
Nature and Landscape Scenes
Nature and landscape scenes can make stunning wall art when colored with care and attention. Choose coloring pages that depict landscapes, flowers, or serene natural settings. These themes lend themselves well to various coloring techniques, allowing you to create vibrant and visually captivating wall art.
Abstract and Geometric Patterns
For a more contemporary and modern look, consider coloring abstract or geometric patterns. These designs often feature bold lines, intricate details, and repetitive shapes that can be colored in a variety of ways. Experiment with vibrant or muted color schemes to create eye-catching and visually stimulating wall art.
turning coloring pages into wall art is a wonderful way to showcase your creativity, bring color and life into your space, and create a personalized and meaningful display. With the right materials, techniques, and a touch of imagination, you can transform your coloring pages into stunning pieces of art that will be admired for years to come. So gather your coloring supplies, select your favorite coloring pages, and let your artistic journey begin!